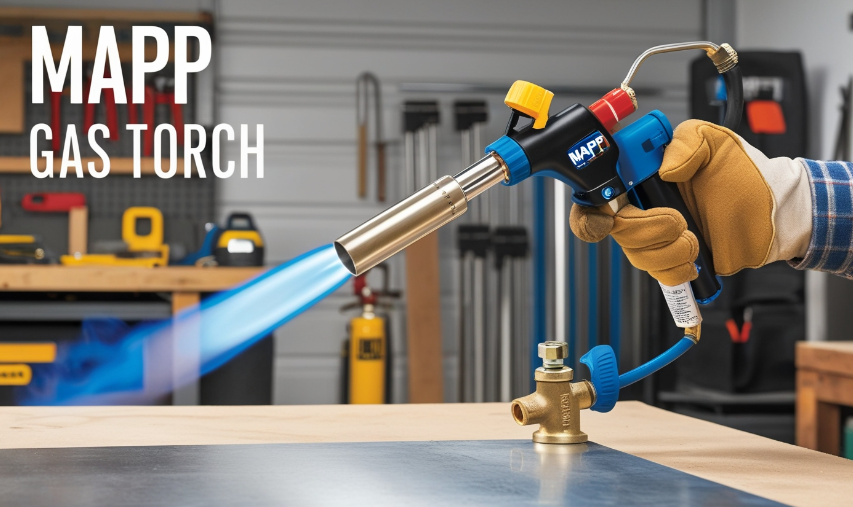
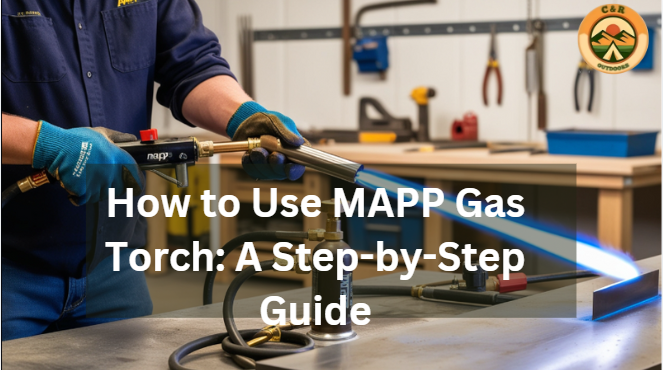
Ever felt the rush of wielding a powerful flame at your fingertips? Well, that’s precisely what it feels like to use a MAPP gas torch! The mapp gas torch is a great tool but not for the faint-hearted.
But hey, naturally knowing how to use mapp gas torch is a real “power with responsibility” situation. But to be frank, when you get the hang of this ferocious tool, there’s no going back!
Once you know just where and how to light up the mapp gas torch – we’re all set for some serious pyrotechnics! Ensure to keep reading for the step-by-step guide on how to use mapp gas torch.
Step 1: Set Up the MAPP Gas Torch for Use

Selecting the Proper Tip Size for Your Project
The tip size of your MAPP gas torch plays a crucial role in achieving best results for your project. Ensure to consider factors such as material thickness and desired heating area when selecting the appropriate tip size.
Tips for Choosing Tip Sizes:
- For smaller projects and precision of work, select tips with narrower openings for a better experience.
- Larger projects require tips with wider openings.
- It’s always efficient to have multiple sizes available so you can adapt to varied situations efficiently.
Step 2: Light the Mapp Gas Torch Using the Procedures Below
To ignite your MAPP gas torch safely and effectively without harming yourself in the process, follow these simple steps:
- Close all valves on both your propane tank and your brass regulator.
- Connect your hose securely from the propane tank (if in use) to the MAPP gas torch.
- Open the valve slowly on your propane tank.
- Turn on the regulator valve.
- Use a flint striker or a spark lighter to ignite the MAPP gas torch by holding it near the nozzle while simultaneously opening and closing its control knob to ingnite the torch.
Step 3: Adjust Flame and Heat Intensity Levels of The MAPP Gas Torch

1. Knowing the Various Flame Types:
It’s important to understand that different flame types have different characteristics and uses. For instance, the neutral flame has a well-defined inner cone surrounded by a feathery outer cone, producing even heat distribution during use.
Also, an oxidizing flame has an excessive oxygen supply, resulting to a more hotter and narrower inner cone. This produces longer blue flames as a decreasing flame implies lack of oxygen content, producing broader yellow flames that generate less heat.
2. Controlling Flame Settings:
By manipulating the control knob of your MAPP gas torch, you can adjust flame size and intensity to your preferences:
- For larger projects requiring more heat, open up the control knob for intensified gas flow.
- While, when working with smaller materials or delicate objects that need precise heating, decrease gas flow by tightening the control knob.
Step 4: Ensure to Use Proper Techniques for Heating or Soldering Materials
For heating or soldering purposes, follow these effective techniques for satisfactory results when using a MAPP gas torch :
Soldering Technique:
- Ensure both surfaces are clean and free from contaminants before soldering them together.
- Always apply flux to both surfaces as it helps promote proper adhesion during soldering and ensures longivity.
- Heat each surface evenly using your MAPP gas torch until they reach solder melting temperature (~400°F/204°C).
- Once both surfaces are heated properly, apply solder at joints where both surfaces meet until all desired areas are bonded securely for your preferred purpose.
Heating Technique:
- Carefully examine your project carefuly toiIdentify specific areas that require heating.
- Direct the flame towards the desired area, maintain a safe distance in order to avoid overheating or burning.
- For even distribution of heat across larger surfaces, move the torch in a circular or back-and-forth motion.
Step 5: Shutdown/Turn Off Procedures of the Mapp Gas Torch
After successfully completing your work with the MAPP gas torch, ensure proper shutdown procedures for safe handling and storage. Below are ways to shutdown your MAPP gas torch appropriately:
1. Close Valves in Sequence:
First, close off gas flow from the propane tank (if used) and shut off your brass regulator valve on the cylinder itself.
2. Allow Cooling Time:
Before storing your MAPP gas torch, let it cool down completely after use to prevent accidental burns or spouting of fires.
Note: Never attempt to disassemble any part of your MAPP gas torch while it is still hot for your safety.
Step 6: Maintaining and Storing Your Mapp Gas Torch After Use
Follow these simple steps to prolong the lifespan and ensure the optimal performance of your MAPP gas torch:
1. Clean After Each Use:
Remove any dirt or debris that may have accumulated during operation by wiping down the nozzle and tip using a clean cloth. Remember to avoid using abrasive materials that could damage these components and clean gentle to keep tool in-shape.
2. Store Properly:
Store your MAPP gas torch in a dry place where it won’t be exposed to extreme temperatures, direct sunlight or rain.
Safety Precautions when Using a Mapp Gas Torch

In order to stay safe while using the MAPP gas torches, here are a few precautions to look out for:
1. Wear Proper Safety Gear
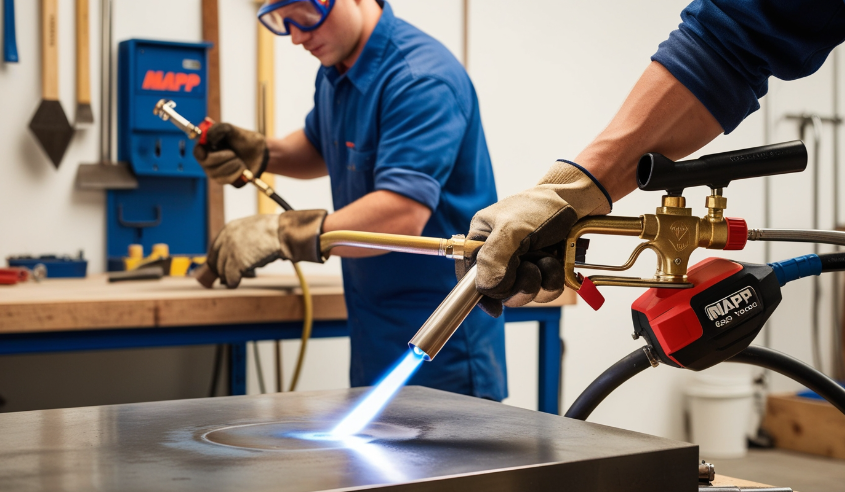
Before using the torch, ensure to put on protective clothing including heat-resistant gloves, safety glasses or goggles, and long-sleeved shirts to prevent body burns during operation.
2. Work in a Well-Ventilated Area
Always use the MAPP gas torch in an open space or ensure that there is good ventilation for proper air circulation. This will help minimize the risk of inhaling harmful fumes for subsequent health implications.
3. Keep Flammable Materials Away
Make sure that there are no flammable materials nearby while operating the torch. Clear your workspace of any flamable liquids or objects that could pose a fire hazard and cause accidents.
Conclusion
By simply following these guidelines for safely operating, maintaining, and storing your MAPP gas torch correctly, you can confidently embark on various DIY projects with ease no matter the size of the project! Remember always to prioritize safety precautions throughout every step of usage because you matter the most.
If you found this article exciting, this is another great read: 7 ultimate hiking tips for beginners
We also found this great pick for you: hybrid camper bunk end canvas replacement
