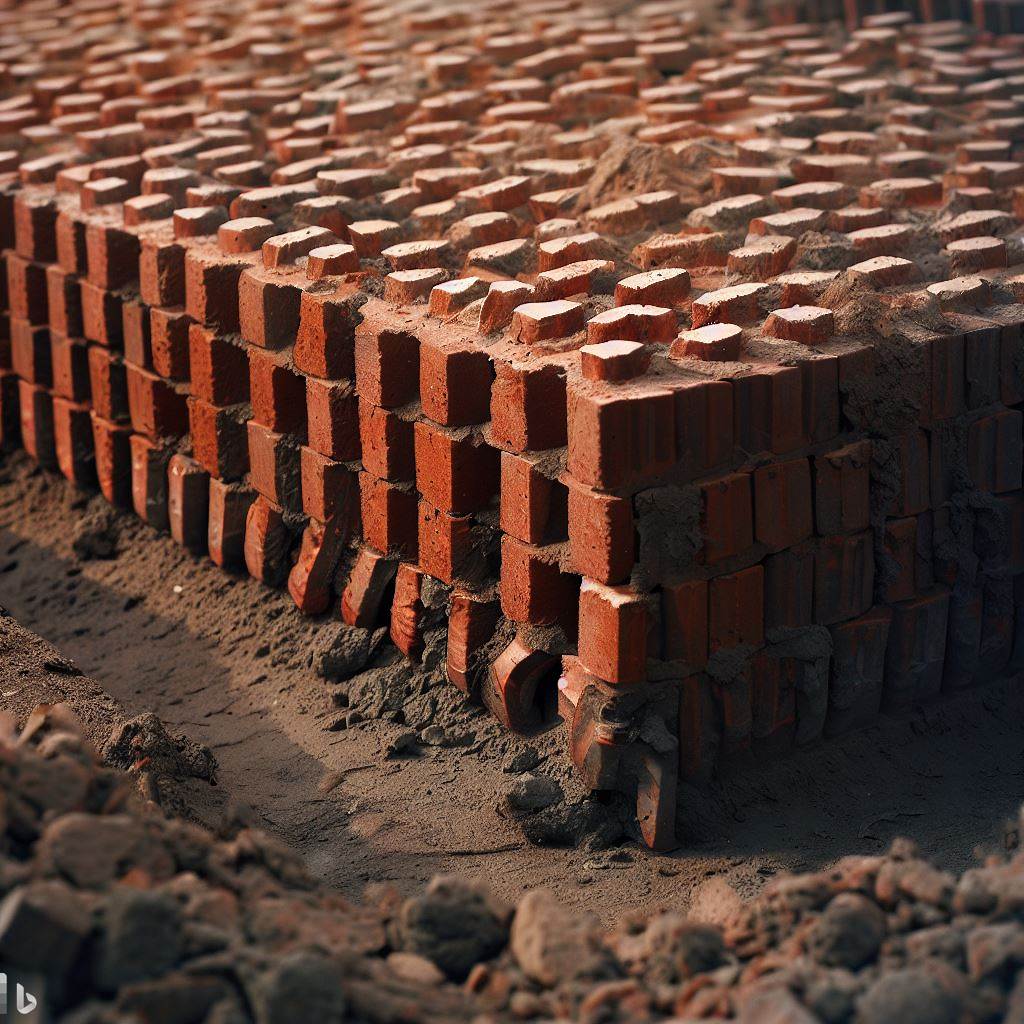
Experience the timeless charm of a brick foundation covering. Embrace the rustic allure and robust durability that captivates homeowners. Discover the art of well-placed bricks and mortar, creating a classic appeal that stands the test of time. Elevate your property’s aesthetics with brick foundation covering and relish the enduring beauty it brings to your home.
So how can we protect this architectural marvel? The answer is simple yet often overlooked: covering the brick foundation is our secret weapon. Proper coverage not only emphasizes the visual appeal but also protects against slow degradation over time due to environmental factors.
Curious to learn more? Well, stick around because, in this blog, we’ll dive into everything you need to know about safeguarding your brick haven from potential threats while enhancing its timeless beauty. Unearth some professional tips and tricks that will make your neighbors green with envy!
Materials Required for Brick Foundation Covering
When it comes to covering a brick foundation, you will need several materials to ensure a successful project. Here are the essential items you’ll need:
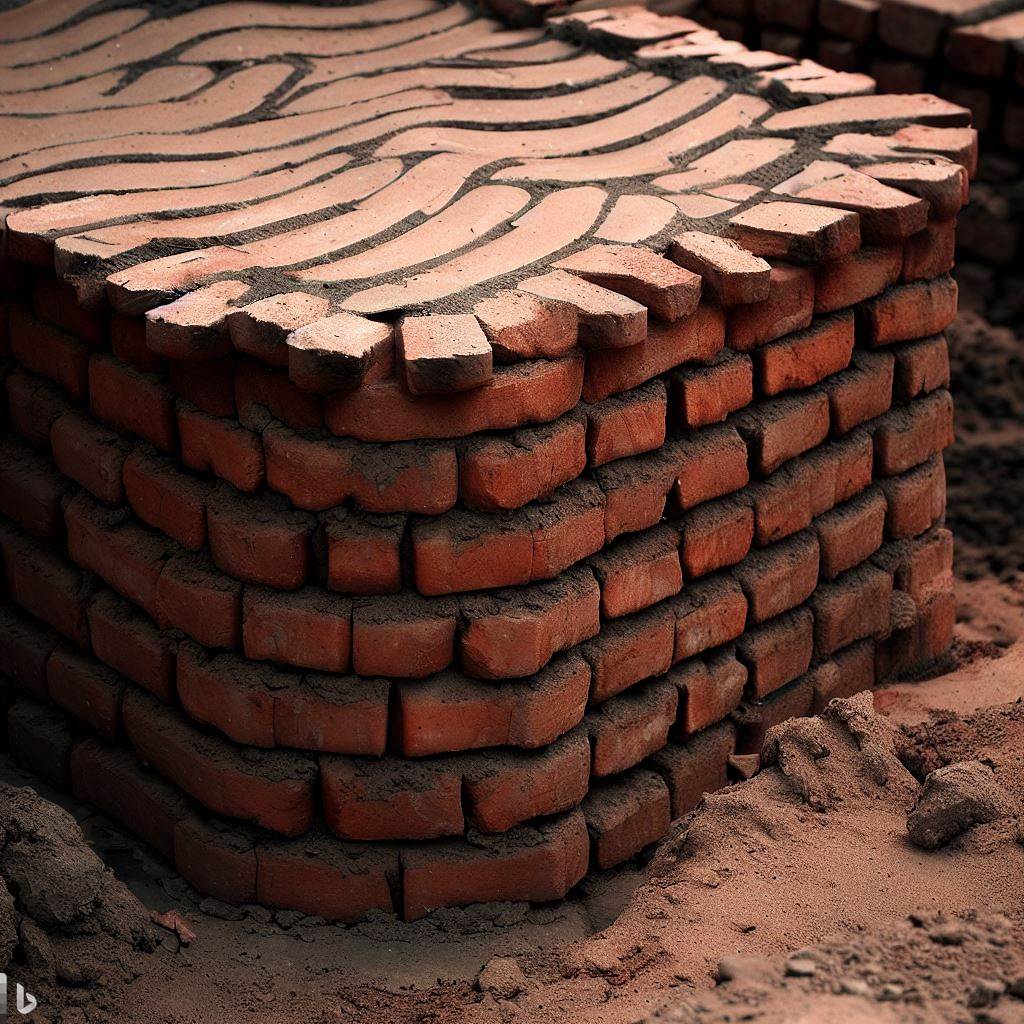
1. Bricks: Choose durable bricks that match the style of your home and can withstand weather conditions in your area.
2. Mortar mix: Make sure to select a mortar mix suitable for exterior use and follow the manufacturer’s instructions for mixing.
3. Trowel: A trowel is necessary for applying mortar evenly between the bricks.
4. Masonry brush: This tool helps smooth out any excess mortar on the surface of the bricks.
5. Level: To ensure proper alignment throughout the project, have a level on hand at all times.
6. Tape measure: Accurate measurements are crucial when laying bricks, so keep a tape measure handy.
7. Safety equipment: Protect yourself with gloves, safety glasses, and a dust mask.
Preparing the Surface for Brick Foundation Covering
Before you begin laying bricks, it is critical to prepare your foundation properly:
Inspect the existing brickwork – Check for any signs of damage or cracks in your current brick foundation that may require repair before covering.
Clean and remove debris – Thoroughly clean the exposed brick surface by removing dirt, moss, loose mortar, or any other debris using a power washer or wire brush.
Repair damaged areas – If you find any cracks or deteriorated sections in your existing foundation during inspection, make necessary repairs before moving forward with covering it up.
Apply waterproofing sealant – To prevent water infiltration into your newly covered brick foundation later on, apply an appropriate waterproofing sealant according to manufacturer instructions.
Step-by-step Process of Laying Bricks
Now that you’ve prepared your foundation, it’s time to start covering it with bricks. Follow these steps:
1. Measure and mark the brick layout – Use a tape measure to determine the dimensions of each row and mark them using chalk or pencil.
2. Mix mortar – Follow the manufacturer’s instructions for mixing the mortar mix properly. Consistency is key; ensure it is not too thick or too runny.
3. Apply mortar – Start by applying a layer of mortar on the foundation, creating an even bed for laying bricks.
4. Lay bricks – Place each brick firmly into position, pressing gently to ensure good adhesion with the mortar below.
5. Maintain alignment and level – Regularly check that each brick is level both horizontally and vertically throughout the entire process using a level tool.
Maintaining Alignment and Level in Brick Foundation Covering
Keeping your bricks aligned correctly and level during installation is crucial for achieving a professional finish:
– Periodically use your level tool to verify that each brick is aligned accurately horizontally.
– To maintain vertical alignment, make sure adjacent bricks are also plumb (vertical) in relation to one another.
– Adjust as needed by tapping lightly with a rubber mallet until you achieve proper alignment.
– Remember that precision during this step will significantly impact how neat your finished project looks once complete.
Mortaring Technique in Brick Layering
A smooth mortaring technique ensures strong bonds between layers of bricks:
– Spread enough mortar on top of each previously laid course before placing new ones on top.
– Apply gentle up-and-down pressure while positioning new bricks onto the freshly-mortared surface beneath them.
– Press down firmly but avoid pushing so hard that excess mortar squeezes out between joints excessively.
Curing Process After Installing Bricks
Once you’ve completed laying all the desired rows of bricks on your foundation cover, allow sufficient time for the mortar to cure. This curing process helps ensure the longevity and stability of your brickwork:
– Place a plastic sheet or tarp over the newly installed bricks and allow them to sit undisturbed for at least 24 hours.
– During this time, keep the surface slightly moist by lightly spraying water on it once or twice a day.
– After 24 hours, remove the plastic covering and let the bricks air dry for another couple of days before proceeding with any further treatments or finishes.
Benefits of Using a Brick Foundation Cover
Covering your foundation with brick offers several advantages:
1. Enhanced aesthetics: A brick foundation cover adds an appealing visual element and can increase curb appeal.
2. Increased protection: Bricks provide additional protection against weather elements, preventing damage to your foundation.
3. Improved insulation: Brick foundations help regulate the temperature inside your home, reducing energy costs.
4. Longevity and durability: Properly installed bricks can withstand harsh weather conditions for many years without significant wear.
Conclusion
By following this step-by-step guide, you can successfully cover your brick foundation while enhancing its appearance and protecting it from external elements.
Remember to prioritize proper preparation, alignment maintenance, and curing time after installation, and consider reaping all of these benefits that come along with a well-covered brick foundation!
FAQs On Brick Foundation Covering
Q: What does this guide cover?
A: This guide covers the step-by-step process of covering a brick foundation using faux stone panels.
Q: What is faux stone?
A: Faux stone is a synthetic material that mimics the appearance of real stone. It is often used in home construction and renovation projects to achieve the look of stone without the cost and weight.
Q: Why would I want to cover my house foundation?
A: Covering your house foundation can improve the overall appearance of your home. It can also provide added insulation and protection to the foundation, preventing damage and extending its lifespan.
Q: Can I use faux stone panels to cover my house foundation?
A: Yes, faux stone panels are a popular choice for covering house foundations. They are lightweight, easy to install, and offer a realistic stone-like texture.
Q: Can I use faux stone panels to cover a brick wall?
A: Absolutely! Faux stone panels can be used to cover various surfaces, including brick walls. It can give your brick wall a fresh and updated look.
Q: Do I need any special tools or skills to install faux stone panels?
A: Installing faux stone panels is a relatively simple process that can be done by most homeowners. Basic tools such as a saw, drill, and level are typically sufficient. However, if you’re not confident in your DIY skills, it’s always best to consult a professional.
Q: Can I install faux stone panels by myself, or do I need assistance?
A: While installing faux stone panels can be a DIY project, having an extra set of hands can make the process easier and faster. It’s always helpful to have someone to assist you, especially when it comes to holding and positioning the panels.
Q: How do I prepare the surface before installing faux stone panels?
A: Before installing faux stone panels, it’s important to ensure that the surface is clean and free from any loose debris. If necessary, you may need to apply a layer of adhesive or stucco to create a smooth and even surface for the panels to adhere to. Always follow the manufacturer’s instructions for surface preparation.
Q: Can I use faux stone panels on an exposed concrete foundation?
A: Yes, faux stone panels can be used to cover an exposed concrete foundation. They provide an attractive and durable solution to improve the appearance of the foundation.
Q: What are the benefits of using faux stone panels?
A: The benefits of using faux stone panels include their lightweight nature, ease of installation, and realistic appearance. They are also more affordable compared to real stone and can be used in various applications.