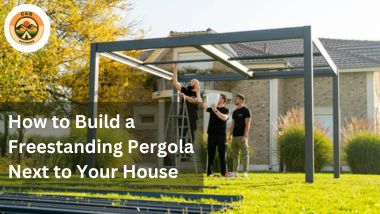
Freestanding Pergola next to house could sound like a great idea especially, the thoughts of having unlimited fun when you have a shaded haven right outside your door, untill, you think of how to build it from scratch.
Why limit your outdoor time to just weekends when you could have ? No more sunburns or hunting for that one patch of shade in your backyard.
Plus, the beauty of a freestanding pergola next-to-house gives you all the vibes of a cozy retreat to every landscape without needing to attach anything to your house. Sounds great right?
By the end of this guide, you’ll be a pergola pro, ready to build your own stylish hangout spot. So, grab your tools (and maybe a friend or chilling partner to help), and let’s turn your backyard into the ultimate chill zone. Trust me, you won’t want to miss a single step!
The Concept of Freestanding Pergola Next to Houses
So, what exactly is a free-standing pergola next to your house? To answer this: it’s an outdoor structure, usually with a slatted roof or even a louvered roof, offering partial shade while letting a cool breeze flow through.
But what exactly makes it “freestanding” is that it’s not attached to the house, it stands on its own, giving you tons of flexibility in where you place it anywhere on the property.
Unlike attached pergolas that are connected directly to your home, this style gives you complete control over where you want your new outdoor oasis.
Want to create a little sanctuary right next to your patio? Or maybe a shaded dining spot near the garden? A freestanding pergola lets you decide! Plus, there are various factors like: you’re not limited to only building it next to your home’s walls, you can place it everywhere.
Why Choose a Freestanding Pergola Next to Your House?

Now, why should you go for a freestanding pergola next to the house and not attached pergolas? Well, for starters, it’s all about flexibility in design, whether you choose a freestanding pergola or one attached to the house.
Since it’s standalone, you have more freedom when it comes to placement and design thus it can be nestled near your garden, pool, or anywhere that needs some extra charm and shade.
Another bonus is that it’s great for those who love DIY projects and right for your home. With a DIY pergola kit, you can easily put this project together over a weekend. Most kits come with everything you need to build an attached pergola or a free-standing pergola.
Let’s also not forget how much it can enhance your Transform your outdoor space with a beautiful pergola attached to the house.
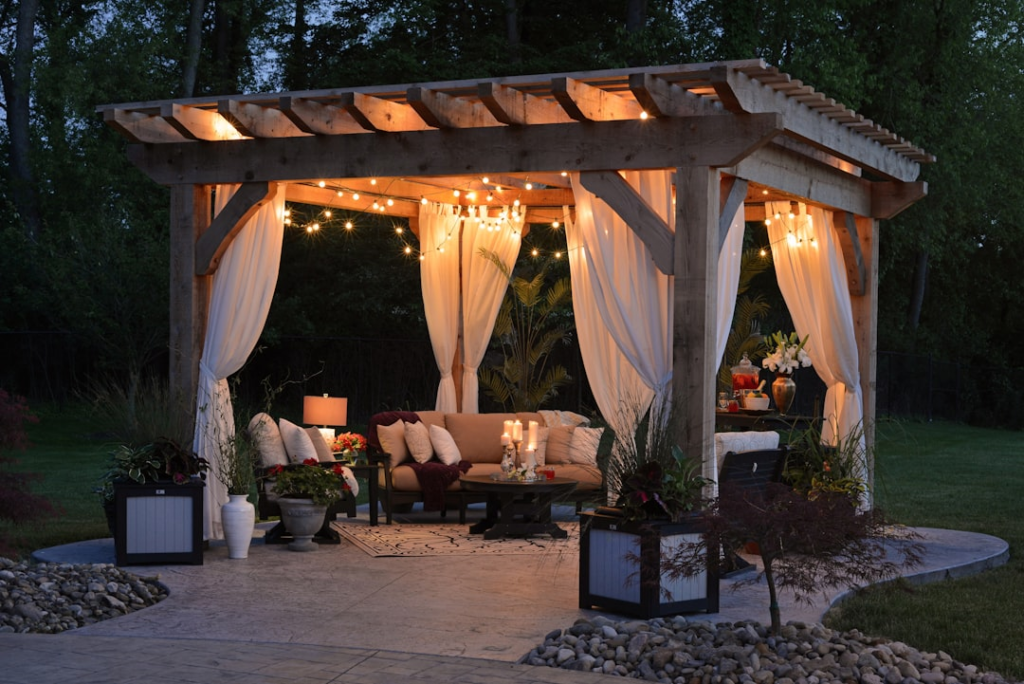
A freestanding pergola doesn’t just provide shade; it transforms your backyard into a cozy retreat. Add some outdoor furniture, maybe a couple of string lights, and you’ve got the perfect spot to relax or entertain friends.
Materials Needed to Build Your Freestanding Pergola

Ready to roll up your sleeves and start building? Here’s a quick breakdown of what you’ll need for your freestanding pergolas, i.e., tools, materials, and safety gear. freestanding pergola next to the house:
Wood or Metal: The right type of material is key to building the perfect freestanding pergola next to your home. Cedar is a popular choice for its natural look and durability.
If you want something more modern, you could go for aluminum or steel. Just remember, wood needs sealing to weatherproof it, while metal will need rust-resistant coatings.
- Concrete Footings: You’ll want a sturdy base for your pergola, especially since it’s freestanding. Pour concrete footings to anchor your posts securely, ensuring that the structure stands firm even in strong winds.
- Stainless Steel Wood Screws and Brackets: Don’t underestimate the importance of quality fasteners. Stainless steel wood screws and brackets will help hold everything together, giving your pergola that secure foundation it needs.
Got your materials list ready? Awesome! Now let’s move on to the actual building process. It’s time to make this vision a reality.
Step-by-Step Guide: How to Build a Freestanding Pergola Next to House
Step 1: Planning and Permits
Before you dive into construction, start with the basics—planning for building codes for your pergola attached to the house versus a freestanding option! Decide where you want your freestanding pergola to go and how large you want it to be.
Don’t forget to check if you need permits for the build. Every area has its own rules, so better safe than sorry!
Step 2: Mark the Spot
Grab your tape measure and mark out where the posts will go. Make sure everything is leveled, because this is the foundation of your pergola, so it needs to be spot-on. Pro tip: use stakes and string to create a visual guide for the dimensions.
Step 3: Digging and Setting the Posts
It’s time to break some ground! Dig holes for the posts, then set them in concrete footings to keep them stable. Trust me, you don’t want wobbly posts when the wind kicks up. Let the concrete cure for a day or two before moving on to the next step.
Step 4: Build the Frame
Now comes the fun part building the frame with the right angle for your roof rafters to ensure proper drainage.
Using your stainless steel wood screws and brackets, secure the horizontal beams to the posts. Make sure everything is level and lined up properly. This is where your pergola starts taking shape.
Step 5: Add the Roof Slats
Depending on your style, you can either space the roof slats for a bit of sunlight or go for a louvered roof for more control over the light and shade. Either way, this is the final touch that makes your outdoor space feel complete.
Step 6: Sanding and Sealing
Before you kick back and enjoy your new pergola, take the time to sand down any rough edges. If you’re using wood, apply a weatherproof sealant to protect it from the elements. This little step will keep your pergola looking great for years to come.
Pro Tips for a Perfect Pergola
Feeling good about your new project? Here are a few extra tips to take your pergola to the next level.
Leveling is Key
No one wants a lopsided pergola, especially when it’s designed to enhance your deck or patio, so make sure to check the angles during assembly. Double-check the level as you go to make sure everything stays straight.
Custom Touches
Want to personalize your pergola? Add some outdoor curtains for privacy or shade canopies to create a magical ambiance at night. You could even train climbing plants to grow up the posts, giving your pergola next to the house a green, natural touch.
Maintenance
Maintenance is crucial for ensuring the longevity of your freestanding pergolas: Don’t forget to maintain your pergola over time. Depending on the type of material, you may need to reapply sealant every couple of years or check for rust if you’ve used metal.
Wrapping It Up: Enjoying Your Freestanding Pergola
And just like that, you’ve built a beautiful, freestanding pergola next to your house! Whether you’re using it for lazy afternoons in the shade or hosting summer BBQs, it’s an upgrade that’s sure to boost your outdoor space.
By following these steps and tips, you’ll have a durable, stylish pergola attached next to the house that enhances your outdoor space for years to come.
Ready to take on your next outdoor project? Stay tuned, because we’ve got plenty more ideas to make your backyard the ultimate chill zone, including a louvered roof system for your pergola.