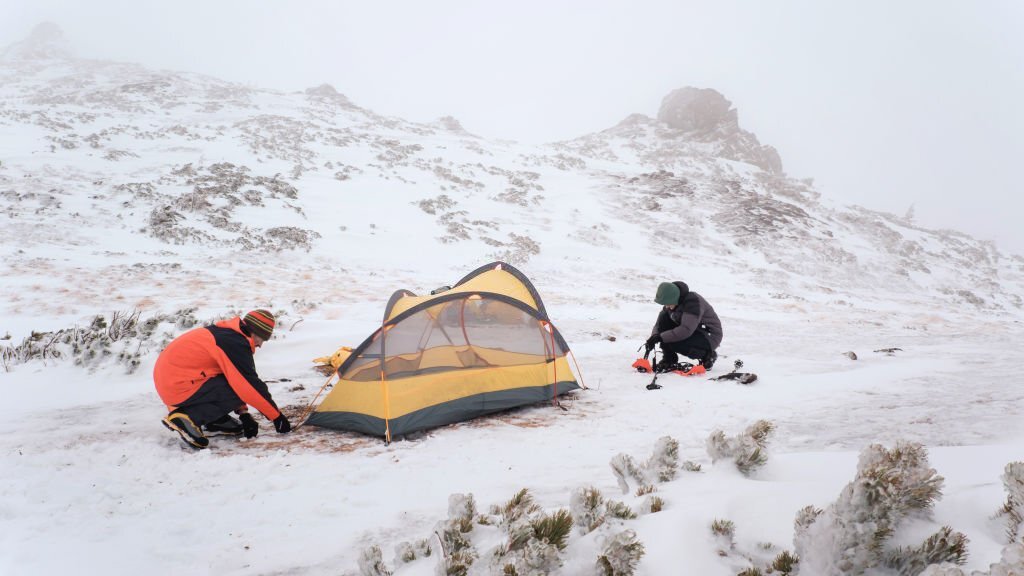
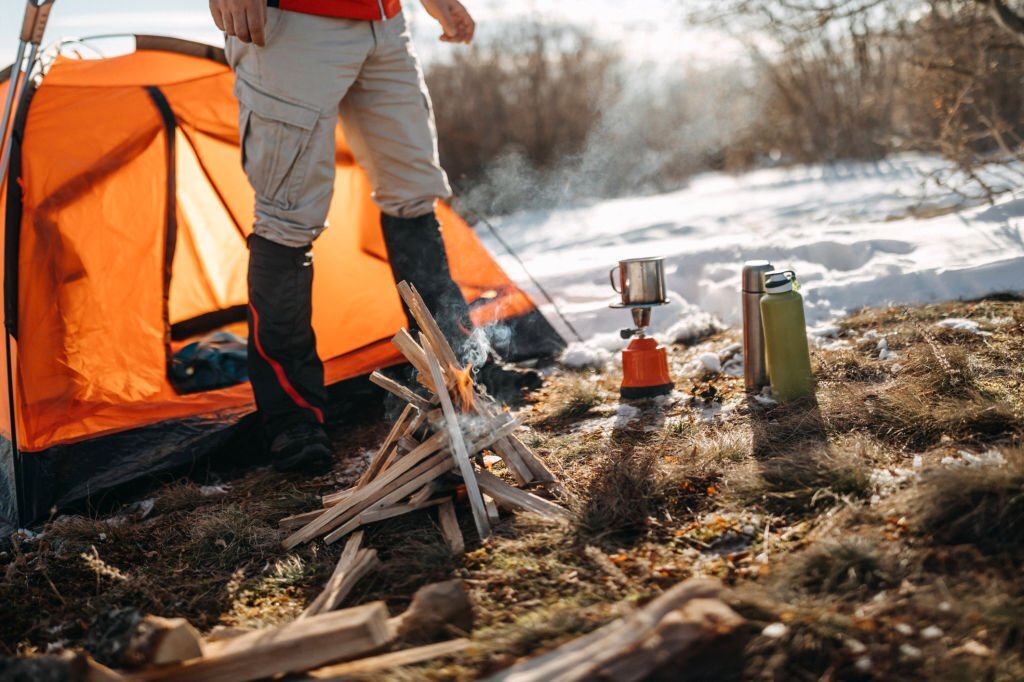
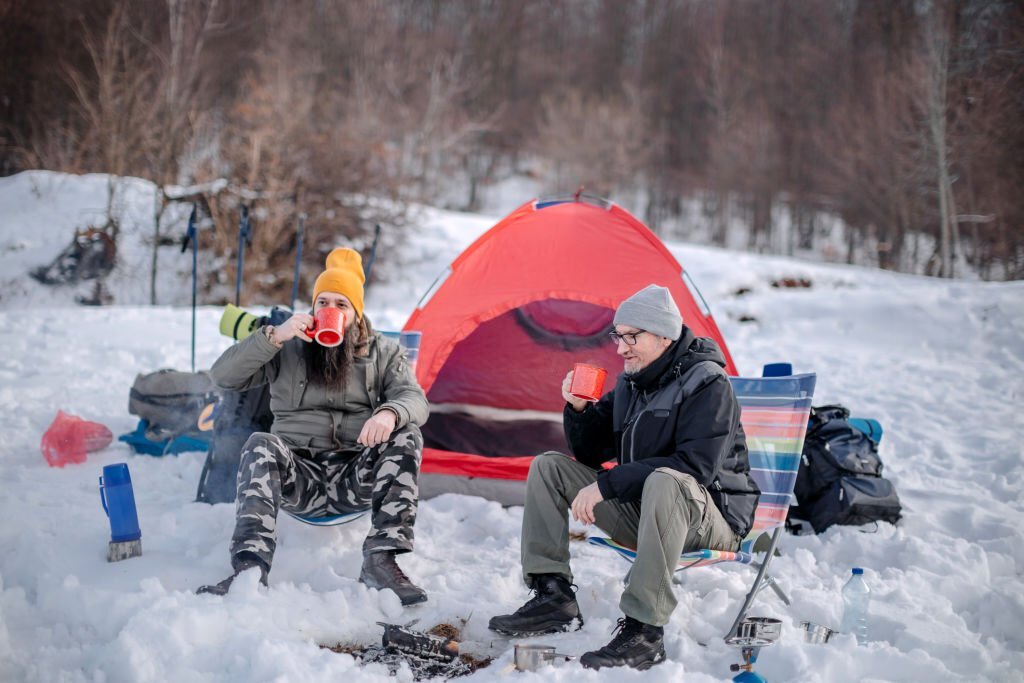
Freeze outside during winter becomes a reality, and it’s crucial to be prepared for the challenges that lie ahead. When it comes to surviving freezing temperatures outside, preparation and knowledge are key. This guide will provide comprehensive information on how to stay safe and comfortable in the outdoors and survival hacks for managing cold weather conditions.
Learning how to protect yourself from the cold and the dangers that come with it is crucial for outdoor adventures. Being properly equipped and knowledgeable about these hacks can save you from potential harm, so it is important to take the time to read up on these strategies.
From finding the right location to building a fire and using the right spark to start it, to carrying coals in a tree bark cone, and repelling bugs with smoke – this guide will cover everything you need to know to keep from a deadly freeze outside in the unforgiving cold.

How to Stay Warm and Survive in Freezing Temperatures
When the temperatures drop and the weather gets cold, it is important to take the necessary steps to ensure you stay safe and warm. Whether you’re camping, hunting, or simply spending time outdoors, there are several hacks that can help you survive cold temperatures.
One simple hack is to seal doorways with a pool noodle, which helps minimize heat from escaping. A small fire in the backyard can also be beneficial for heating stones that can be brought inside to warm up the living space.
Additionally, investing in heavy quilts, blankets, and sleeping bags designed for at least ten degrees colder than expected can help you stay warm during winter camping.
Eating and exercising before going to sleep can also help keep warm throughout the night. Carrying liquor is also useful in terms of survival – it can help disinfect wounds and keep teeth and gums healthy in harsh conditions, as well as soothe discomfort from poison ivy and jellyfish stings.
The key to staying warm and surviving freezing temperatures is to practice safety and prepare for any situation. Investing in the right tools and preparing for all scenarios is the best way to succeed in outdoor adventures.

Tips To Consider When Starting A Fire
Fire-starting tools play an important role in any outdoor experience. It’s important to understand the basics of tinder, kindling and fuel and how they work together to create a successful and sustainable flame.
By choosing the right materials and practicing proper fire safety, you’ll be well prepared to face any outdoor challenge.
When it comes to building a fire in freezing temperatures, the right location is paramount. You need to find a dry spot that is free from snow, and sheltered from the wind.
Taking all of this into consideration, you can set up your fire pit which should be one or two inches above the ground. Adding stones around the fire pit will help protect it from melting snow and extinguishing the fire.
Once you have the perfect location, it’s important to make sure you are using the right kind of wood. It should be dry and not moist as this will create more smoke than heat. Avoid green wood and wet wood as they will only add more smoke.
You also need to decide which spark you are going to use to ignite your fire. Windproof matches are a great option, however, if you want something more reliable, you can try using a Ferro rod or a lighter. Firesteel is also a great option since it never runs out (more on that later).
Lastly, when building a fire, make sure you prioritize safety. Never leave the fire unattended and make sure it’s extinguished before you leave. Remember, these tips will help you stay warm and safe in freezing temperatures.
How to Build a Fire in Freezing Temperatures
Now when it comes to starting a fire in cold climates, it can be a daunting task, yet it is an essential survival technique. Windproof matches, Ferro rods, and lighters are the three most common tools used to ignite a fire.
Windproof Matches
Windproof matches are an ideal choice as they are particularly designed to stay lit even when there is a strong breeze. To use a windproof match, first ensure that you are in a sheltered area where the wind won’t easily extinguish the flame.
Then, strike the match against the striker strip on the side of the box. Wait for it to light up and then quickly place it in the middle of the firewood. Use the heat from the match to light the tinder around it.
Ferro Rods
Ferro rods are often used by experienced outdoors people and are convenient due to their small size and reusability. To use a ferro rod, take it and firmly strike the rod with a hard metal surface such as the back of a knife or any other solid piece of metal. The sparks created should light the tinder around it.
Lighters
Lighters are an efficient tool to start a fire, however, they are not suitable for cold weather conditions as the butane inside them can freeze.
Ensure that your lighter is stored somewhere warm before use. To use a lighter to start a fire, simply ignite it and then direct the flame towards the tinder.
These are the three most commonly used tools to start a fire outdoors. It is important to remember that the aim is to find a spot sheltered from strong winds and have the right kindling and fuel arrangement ready before using these tools.
Building Your Own Transportable Coal
It is essential to be able to transport and reuse coals in a safe manner when spending time outdoors. The best way to do this is by making a cone out of tree bark, which can be done in only a few simple steps.
Firstly, select a piece of bark with an even base. Using your hands, tear the edges into a cone shape, making sure that it can hold a good amount of coals in its center.
Once the cone is ready, you will need to prepare your first fire. To start, gather dry tinder and kindling, as well as fuel, and create a platform for the fire two inches above the ground to keep the flames from melting the snow and extinguishing it.
Once your fire is burning, add larger pieces of fuel to keep the fire going for longer.
When the flames are about to die down, carefully put the cone made out of tree bark over the embers and let it stay there until the bark turns black and smoke starts coming out, this usually takes ten to fifteen minutes.
Be sure to not put out the fire while the cone is on it as this could lead to higher risk of injury.
When the cone is ready, remove the embers and wrap the cone up with a jute bag or a large piece of cloth, taking extra precautions not to burn yourself. Now you have the perfect transportable coal that can be used to build a fire in another location.
It is important to remember to always take safety precautions when building and transporting coals, and make sure to never leave a fire unattended. With these tips in mind, you can safely travel with your fire and start a new one wherever you go.
Fire-Starting Options to Explore In a Cold Weather
In wet and cold weather, it’s important to have options when starting a fire. One such option is creating a “super match” by dipping a small square of cardboard in melted wax. This makes it waterproof and helps the fire start easily and quickly, even if it is wet outside.
Other useful fire-starting options include:
- using a flint and steel fire kit
- a ferrocerium rod
- a butane lighter.
For more persistent conditions, the use of petroleum jelly on cotton balls, dryer lint, or steel wool soaked in oil can help get a fire started.
Additionally, if you have some time and a little creativity you can create your own fire starter out of items you might have at home like paraffin wax or candle wax, cardboard, sawdust, petroleum jelly, or dryer lint.
No matter what fire-starting methods you choose, safety should always be considered first. Make sure to build your fire in a safe place that is away from any combustible materials and observe local burning guidelines. Keep an eye on the wind and never leave your fire unattended.

We hope these tips will help you create successful fires in wet and cold weather.
Protecting Your Teeth And Gums When it Starts to Freeze Outside
When outdoors in freezing temperatures, it is important to take care of one’s teeth and gums. While the standard toothpaste may not be available in such conditions, there is one surprising hack that can provide the same benefits – liquor.
Using small amounts of liquor can act as a natural antiseptic for cleaning wounds and provide temporary relief for discomfort from insect bites, jellyfish stings, and poison ivy. It also works as an effective mouthwash for keeping teeth and gums healthy.
When using liquor as a mouthwash, just pour a small amount onto your toothbrush and gently brush your teeth as you would with regular toothpaste. Swish the liquid around the mouth for a few seconds before spitting it out and rinsing with water.
Remember to only use small amounts and avoid drinking it. This method can be used in extreme weather conditions when other products are not available.
Using Smoke from a Fire to Repel Bugs
When spending time outdoors, especially in the cold, having bugs around can be bothersome. You can use smoke from a fire to keep them away. Smoke is an effective way to ward off certain types of insects and other pests.
To use the smoke for this purpose, you must create a smoky fire. You can do this by constructing a fire with wet wood, green wood, or softwood, as these materials will produce more smoke than heat.
Once the fire is going, you can adjust the type and amount of wood that is burnt to create a thicker smoke. This smoke can help repel ticks, mosquitoes, spiders, and other bugs. Additionally, keeping the fire smoldering rather than blazing will further prevent insects from returning.
The smoke produced by a fire is an effective method of insect control, and can be used in any outdoor setting. Make sure to be conscious of your fire and keep it monitored at all times to avoid potential dangers.
Conclusion
When it comes to surviving freezing temperatures and enjoying outdoor adventures, preparation, knowledge, and safety are crucial.
By following the tips and hacks discussed in this guide, such as building a fire in the right location with proper materials, using smoke to repel bugs, and employing clever tricks like sealing doorways and using heated stones, you can increase your chances of staying safe, comfortable, and warm.
Remember to prioritize safety, be prepared for all scenarios, and check local regulations before starting a fire. With the knowledge gained from this guide, you can confidently embrace the outdoors in freezing temperatures and make the most of your time in nature
Frequently Asked Questions
Q: How can I prevent freezing in my outdoor faucet during the winter?
In order to prevent freezing in your outdoor faucet during the winter, it is important to take certain precautions. One of the best ways to do this is to insulate your outdoor faucet. You can purchase faucet covers or use an old towel or cloth to wrap around the faucet. By insulating the faucet, you can help protect it from the freezing temperatures and prevent any damage to the pipes.
Q: What should I do if my outdoor faucet is already frozen?
If you discover that your outdoor faucet is already frozen, it is important to act quickly to prevent any further damage. The first step is to shut off the water supply to the outdoor faucet. You can usually do this by locating the shut-off valve inside your house. Once the water supply is shut off, you can begin thawing the frozen pipe by applying gentle heat. You can use a hairdryer, heat lamp, or even hot water to thaw the frozen section. It is important to avoid using an open flame or excessive heat, as this can cause further damage to the pipes.
Q: Should I leave the faucet dripping during cold weather?
Yes, leaving the faucet to drip during cold weather can help prevent freezing. When water is constantly flowing through the pipe, it reduces the chance of it freezing. The trickle of water can help keep the pipes from freezing solid and avoid any potential bursting. Remember to look for the shut-off valve located inside your house and turn the water flow to a slow drip in freezing temperatures.
Q: How do I locate the shut-off valve for my outdoor faucet?
The shut-off valve for your outdoor faucet is usually located inside your house, near the area where the faucet is connected to the water supply. The exact location may vary depending on the layout of your plumbing system. It is recommended to familiarize yourself with the location of the shut-off valve beforehand, so you are prepared in case of freezing temperatures.