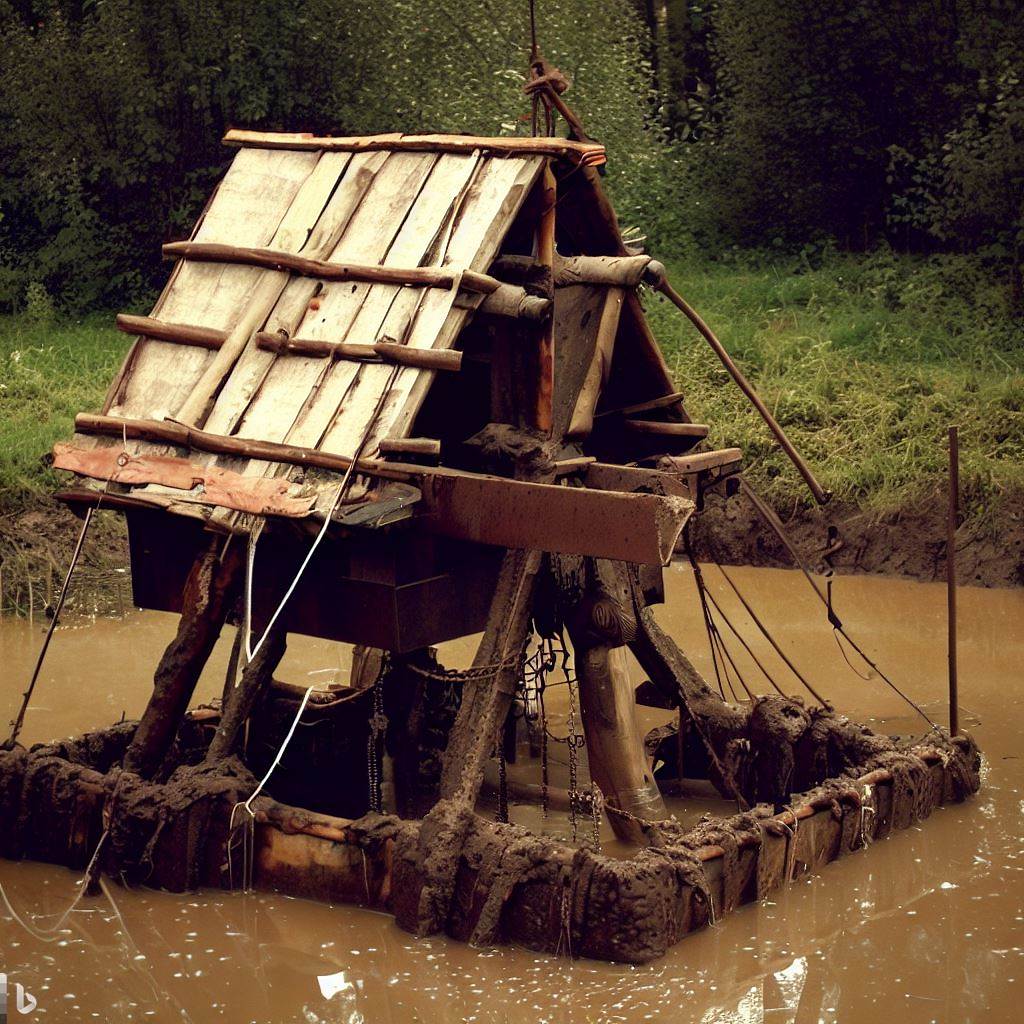
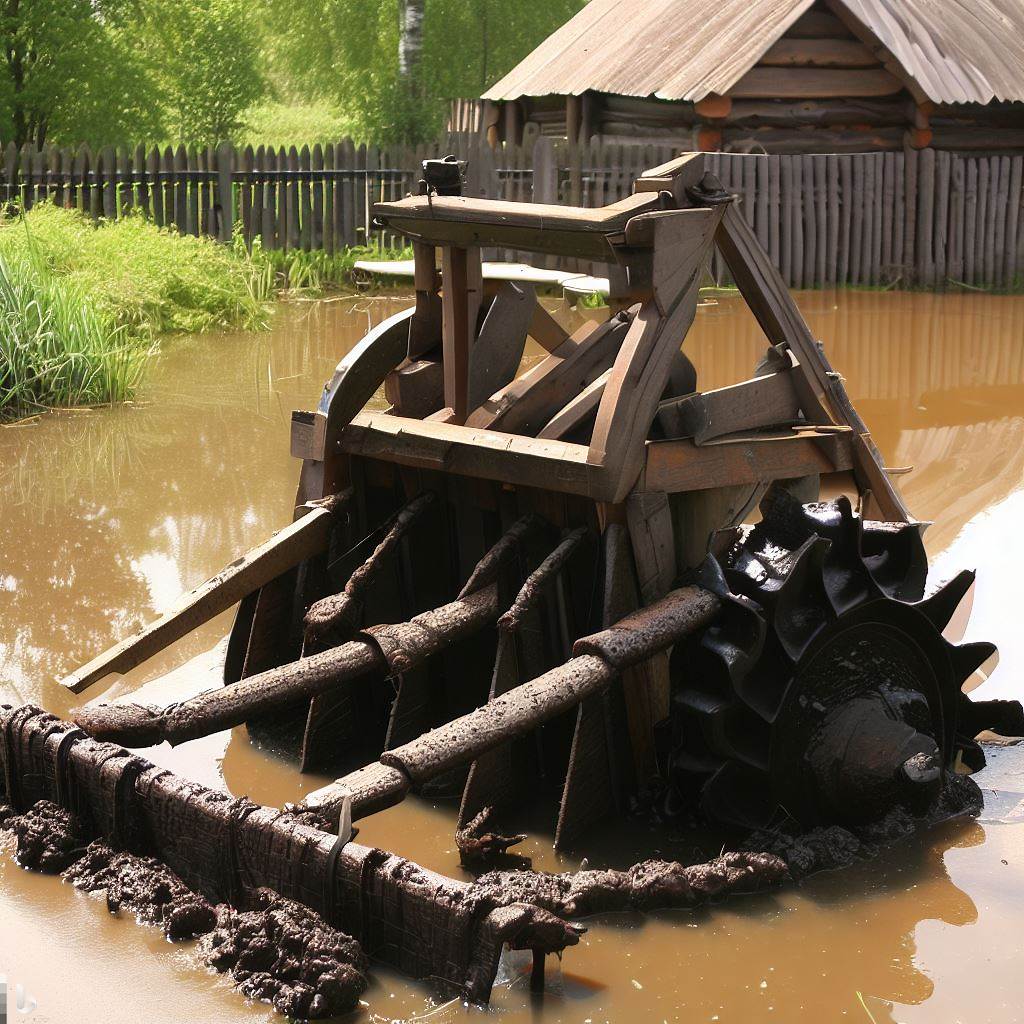
Delving into the world of do-it-yourself projects, we’ve stumbled upon an intriguing venture – building a homemade muck dredge. Sounds ambitious? Perhaps, but isn’t that the charm of DIY endeavors?
Imagine being knee-deep in your backyard pond. It’s murky and thick with years of accumulated silt and debris. You could call professionals to clear it out but where’s the fun in that? Plus, wouldn’t it be more satisfying (and pocket-friendly) to take matters into our own hands?

This is where our weekend project leaps into action! With a dash of creativity mixed with some elbow grease, we will walk through step-by-step instructions on constructing a homemade muck dredge from scratch. Who knew playing in dirt could be so rewarding?
Materials and Tools Required for Building a Homemade Muck Dredge
Building your own homemade muck dredge can be an exciting and rewarding project. To construct one, you will need the following materials and tools:
1. Steel Frame: A strong steel frame is essential to provide stability and support for your homemade muck dredge. Weld together the necessary pieces of steel to form the frame.
2. Pump: You will need a pump capable of handling large volumes of water with solid particles such as silt and mud. Look for a pump specifically designed for this purpose.
3. Suction Hose: The suction hose connects the pump to the dredging nozzle, allowing water and sediment to be drawn up into the system. Choose a durable, flexible hose that is resistant to clogging.
4. Dredging Nozzle: The dredging nozzle is responsible for creating suction in order to remove silt and mud from your pond or lake bed effectively. It should have openings large enough to allow debris but small enough so that it does not get clogged easily.
5. Floats or Buoyancy Devices: Attach floats or buoyancy devices at strategic points on your homemade muck dredge’s frame to ensure it stays afloat during operation.
6. Engine or Power Source: Depending on the size of your pond or lake, you may need an engine-powered generator or another power source capable of providing sufficient energy for operating the pump efficiently.
7. Control Panel/Valve System: Install a control panel/valve system that allows you to regulate water flow rates, pressure levels, and other aspects related to dredging operations.
To construct your homemade muck dredge accurately, you will also require various tools including welding equipment (if necessary), wrenches, pliers, screwdrivers, and tape measures. It’s important to gather all the necessary materials and tools before starting your construction process.
Construction Process of the Homemade Muck Dredge
Once you have gathered all the required materials and tools, you can begin constructing your homemade muck dredge using the following step-by-step guide:
1. Design: Start by designing a blueprint or plan that outlines how your homemade muck dredge will be constructed. Consider factors such as size, weight capacity, and maneuverability.
2. Frame Assembly: Begin by assembling the steel frame according to your design specifications. Use welding equipment if necessary to join the different pieces securely.
3. Attach Pump: Install the pump onto the steel frame in a position that allows easy access for maintenance but is also protected from water damage.
4. Connect Suction Hose: Connect one end of the suction hose to the intake port on your pump and secure it tightly using clamps or hose fittings.
5. Attach Dredging Nozzle: Attach the dredging nozzle to the other end of the suction hose. Ensure that it is positioned in a way that allows it to effectively reach the pond or lake bed.
6. Install Floats or Buoyancy Devices: Attach floats or buoyancy devices to the steel frame to ensure the dredge remains afloat during operation. These devices help maintain stability and prevent the dredge from sinking.
7. Set Up Power Source: Depending on your chosen power source, install the engine or generator onto the steel frame and connect it to the pump. Make sure all connections are secure and follow safety guidelines.
8. Control Panel/Valve System: Install the control panel or valve system that allows you to regulate the pump’s water flow, pressure, and other essential parameters. This ensures efficient and controlled dredging.
9. Test Run and Adjustments: Before using your homemade muck dredge in the pond or lake, perform a test run to ensure all components are functioning properly. Make any necessary adjustments or modifications based on the test results.
10. Operate with Caution: Once you are satisfied with the performance of your homemade muck dredge, you can begin using it to remove silt and debris from your pond or lake. Operate the dredge with caution, following safety guidelines and keeping an eye on its functionality.
Maintenance and Upkeep of Your Homemade Muck Dredge
Like any equipment, your homemade muck dredge will require regular maintenance to ensure its longevity and efficient operation. Here are some tips for maintaining and caring for your dredge:
1. Clean and Inspect
After each use, thoroughly clean the suction hose, dredging nozzle, and pump to prevent clogs and ensure optimal suction power.
2. Check for Wear and Tear
Regularly inspect all components, including hoses, fittings, and floats, for signs of wear and tear. Replace any damaged parts promptly.
3. Lubricate Moving Parts
Lubricate moving parts, such as pumps and valves, to prevent friction and maintain smooth operation.
4. Store Properly
When not in use, store your homemade muck dredge in a dry and protected area to prevent rust and deterioration.
5. Follow Safety Guidelines
Always follow safety guidelines and precautions while operating the dredge to prevent accidents and ensure your well-being.
6. Fine-Tune Performance
Pay attention to the dredge’s performance and make any necessary adjustments to enhance its efficiency and effectiveness.

Conclusion
Building a homemade muck dredge is an exciting and rewarding DIY project that can transform the state of your backyard pond or lake.
By carefully selecting materials, following step-by-step construction, and maintaining the dredge with care, you can enjoy a cleaner and healthier aquatic environment. Remember to prioritize safety and responsible use during the operation of your homemade muck dredge.
So, roll up your sleeves, embrace the challenge, and embark on a journey of turning murky waters into a crystal-clear haven—all with your very own DIY muck dredge!
FAQs
Q: What is a homemade muck dredge?
A: A homemade muck dredge is a DIY method of dredging a pond to remove organic sediment and weeds from the bottom of the pond.
Q: How does a homemade muck dredge work?
A: A homemade muck dredge typically consists of a pump, a drainage system, and a dredge system. The pump is used to drain the water from the pond, while the dredge system is used to remove the sediment and vegetation from the pond bottom.
Q: Why would I need to dredge my pond?
A: Over time, ponds accumulate sediment and organic matter, which can lead to poor water quality, excessive weed growth, and harm to aquatic plants and wildlife. Dredging helps to remove this buildup, improving the overall health of the pond.
Q: How often do I need to dredge my pond?
A: The frequency of pond dredging depends on various factors such as the size of the pond, the rate of sediment deposition, and the desired water quality. Generally, smaller ponds may need dredging every 5-10 years, while larger ponds may require dredging less frequently.
Q: Can I dredge my pond without using heavy equipment?
A: Yes, you can use DIY methods to dredge your pond without relying on heavy equipment. Homemade muck dredges, pond vacuums, or even raking the sediment from the pond bottom can be effective options for small ponds.
Q: What are the benefits of dredging my pond?
A: Dredging your pond can result in improved water quality, reduced weed growth, enhanced wildlife habitat, and increased aesthetic appeal. It helps to remove excess nutrients, restore the natural balance of the ecosystem, and maintain the health of the pond.
Q: How much time does it take to dredge a pond?
A: The time required to dredge a pond depends on the size of the pond, the amount of sediment to be removed, and the method used. It can range from a few days to several weeks for larger ponds.
Q: Are there any risks associated with pond dredging?
A: There can be some risks associated with pond dredging, such as disturbing the natural habitat, releasing nutrients into the water, or damaging the shoreline. It is important to carefully plan and execute the dredging process to minimize these risks.
Q: What should I do with the sediment and weeds after dredging?
A: The sediment and weeds removed during dredging can be disposed of in a designated area away from the waterbody. They can be used for landfills, composting, or other suitable disposal methods. It’s important to check local regulations and guidelines for proper disposal.
Q: Can I use a homemade muck dredge for larger ponds or lakes?
A: Homemade muck dredges are typically more suitable for small ponds or lakes. For larger bodies of water, it is generally recommended to use conventional dredging techniques involving heavy equipment and specialized contractors.